Glamping trip packing trips up even seasoned travelers, because the sweet spot between hotel and campsite is genuinely narrow. Many first-time glampers either overpack like a hotel guest or underpack like a tent camper, and both mistakes ruin the trip. Arrive with four suitcases and your safari tent will feel like a storage unit. Arrive with a daypack and no warm layer, and a cool evening in a canvas tent gets miserable fast.
This checklist solves that by working from what glamping sites actually provide. We’ll cover how to pack light using a single duffel, the layered clothing and footwear that handle big day-to-night temperature swings, and the bedding extras worth bringing. You’ll also find toiletry advice for shared bathhouses, a short list of practical gear that earns its space, and notes on booking timing and seasonal adjustments. Work through it once and you’ll pack for glamping with confidence.
How to Pack for a Glamping Trip Without Overpacking
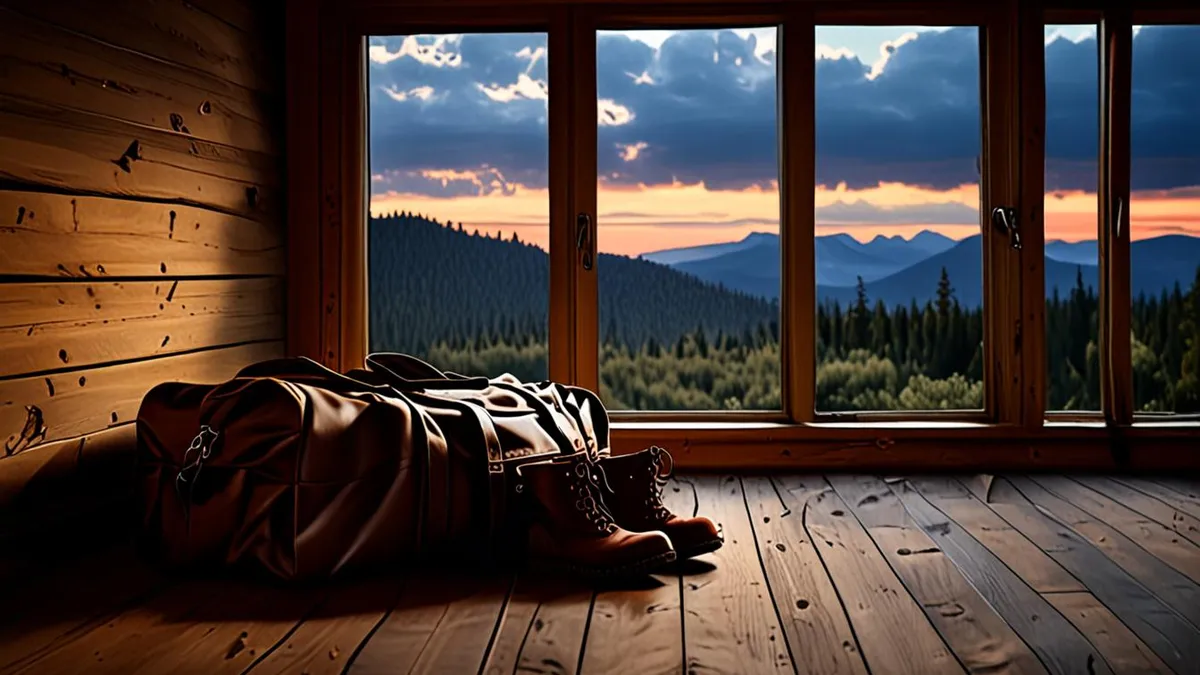
The biggest glamping trip packing mistake isn’t forgetting something — it’s bringing too much of everything else. For a 2-3 night stay, aim for one 40-60L duffel or backpack instead of multiple suitcases. That single bag forces you to make decisions, fits in a car alongside food and gear, and is manageable on the gravel paths many sites use between parking and tents.
Here’s the trick most people skip: request the site’s amenities list 1-2 weeks before departure. Most operators publish exactly what’s in each tent — real bed, linens, lamps, cooking setup, sometimes even a coffee maker. Cross off everything provided before you pack a single item. If towels and a kettle are included, leave yours at home. If there’s no fridge, plan meals accordingly rather than bringing a cooler full of food that will spoil.
The three-layer clothing rule
Clothing is where overpacking spirals. Instead of a fresh outfit per day, follow a simple rule: for each day, pack a base layer, a mid layer and an outer layer, then re-wear. Two days’ worth of base layers, one or two fleeces and a shell will cover a long weekend. Add underwear and socks for each day, one outfit for evenings, and you’re done. Roll everything instead of folding, and your duffel will close without a wrestling match.
Clothing and Footwear for Day-to-Night Temperature Swings
Glamping puts you in a real tent, and tents heat up fast in the sun and cool down fast after sunset. Even in summer, nights can drop 10-15°C below daytime highs, which is why the first thing in your bag should be a warm midlayer such as fleece. A t-shirt that felt perfect at noon will not carry you through an evening on the deck, and guests who skip this layer often end up buying overpriced hoodies at the nearest village shop.
Bring one waterproof shell jacket regardless of the forecast — weather in countryside and coastal locations turns quickly, and canvas tents mean you’ll be outside in drizzle at some point. Choose quick-dry trousers over jeans; denim stays cold and damp for hours if it rains or dew soaks it during an evening fire. The same logic applies to footwear.
- Broken-in waterproof hiking boots or trail shoes: new boots cause blisters by day two, so wear them on walks before your trip. Sites often have grass, gravel or muddy paths between tent and bathhouse, and you’ll walk them several times a day.
- Sandals or slip-ons: waterproof sandals or camp slip-ons for the tent deck and late-night trips, since lacing up boots to cross ten meters of deck gets old fast.
- A beanie and light gloves: for shoulder-season trips in April-May or September-October, when those same 10-15°C nighttime drops feel sharper with no summer warmth left in the ground.
- Wool or synthetic socks: skip cotton entirely — wet cotton socks on a cool morning are the fastest route to a miserable day, while one spare pair of wool socks weighs almost nothing.
Bedding, Sleep Comfort and What Sites Actually Provide
First, confirm what’s included
Before packing a single sheet, confirm whether bedding and towels are included at your site. Most glamping sites provide them, but roughly 30-40% of budget sites ask guests to bring their own. This is the single most important item to verify on the amenities list, because arriving at 8 p.m. to discover your “bed” is an unfitted air mattress is nobody’s idea of a getaway. If you do need to bring linens, a sheet set plus a warm blanket and your own pillow covers the essentials.
Towels deserve the same check. If they’re included, ask whether that means bath towels only or also something for swimming if there’s a lake or hot tub on site.
Small additions that transform tent sleep
Even where linens are provided, add a silk or fleece sleep liner. Canvas tents can feel damp at night as temperatures drop and moisture settles, and a liner adds a noticeable layer of warmth and dryness for very little weight or space.
Finally, pack earplugs and an eye mask. Tent canvas lets in light early, and you’ll be surprised how loud owls, rustling wildlife and other guests’ conversations are at 5:30 a.m. These two items cost almost nothing and routinely save entire nights of sleep.
Toiletries and Personal Care for Shared Facilities
Glamping bathrooms come in two flavors: en-suite bathrooms attached to your tent, and shared bathhouses a short walk away. If the site’s amenities list mentions a shared bathhouse, a hanging toiletry bag is the single most useful item you can pack. You get one hook, one bag, and everything at eye level instead of balancing bottles on a wet counter or the floor of a shower stall.
Biodegradable soap and shampoo make sense for the same reason many glamping sites sit near lakes, rivers or woodland: what goes down the drain often ends up close to natural water systems. Solid bars work especially well here, since they last longer, leak nothing and take up half the space of bottles. A quick-dry microfiber towel is worth packing even when towels are provided, because it doubles as a beach or swim towel and dries overnight in a tent.
Sun and insects are the two things travelers most often underestimate. Most glamping locations sit near water or trees, which means reflection off the lake in the morning and mosquitoes at dusk. Pack both defenses generously.
- Choose a hanging bag with a sturdy hook and a clear top pocket, so you can spot your toothbrush without unpacking everything in a dim bathhouse.
- Look for biodegradable products labeled phosphate-free and safe for freshwater, since some sites actually ask guests to use them.
- Bring a microfiber towel in two sizes if space allows: a large one for showers and a small one for hands and face.
- Use high-SPF sunscreen in a stick or travel tube for faces, which survives heat better and won’t explode in a duffel.
- Pick insect repellent with DEET or picaridin for dusk, and consider permethrin-treated socks if you’ll walk through tall grass.
Practical Gear and Gadgets Worth the Space
Tents are not hotel rooms, and the biggest surprise for first-time glampers is usually power. Outlets inside a tent are rare, even at upscale sites where the deck furniture alone costs more than a weekend’s rent. A power bank in the 10,000-20,000mAh range covers several days of phone charging, camera batteries and a tablet for reading, without needing a trip to the reception building.
Light is the second gap. Campsites go genuinely dark after sunset, and moving between your tent, the deck and the bathhouse means navigating paths, guy lines and the occasional root. A headlamp per person keeps hands free for doors and dinner, while a small lantern on the deck turns the evening into usable time instead of a stumble in the dark.
Finally, pack for the small emergencies and the small spills. A reusable water bottle saves repeated trips to a water point, a compact first-aid kit handles blisters and minor cuts, and a dry bag keeps phones, passports and cameras safe from rain, dew and the occasional knocked-over drink. These items take up almost no space in a duffel but cover the comfort gaps that hotels handle for you.
- Get a power bank with at least two USB outputs so you and a partner can charge simultaneously overnight.
- Choose a headlamp with a red-light mode, which preserves night vision and bothers fewer insects around your face.
- Pick a lantern with a hanging loop so you can clip it inside the tent or onto the deck railing.
- Insulated water bottles keep water cool through a warm afternoon and, in cooler months, hold hot water for tea.
- Add blister plasters, antiseptic wipes and tweezers to your first-aid kit, since splinters and thorns are common around wooden decks.
- Leave camp stoves and coolers at home unless the site explicitly lists a cooking area, as most glamping sites either provide meals, have kitchen access or prohibit open flames.
Booking Timing and Seasonal Packing Adjustments
Timing your booking shapes both your budget and your packing list. Peak season runs from June through August, and that’s when glamping rates typically sit between $150 and $400 per night. Book 2-3 months ahead for those summer dates, since the best tents and cabins at popular sites fill first and the remaining options tend to be the pricier ones.
Why shoulder season works in your favor
Shoulder season, roughly late spring and early fall, often drops nightly rates to $90-$200, and sites are quieter too. Booking around 3-4 weeks ahead is usually enough in this window. Your packing list gets lighter as well: you can skip some of the heavy sun gear and thermal extras, and lean on a good midlayer instead.
Seasonal adjustments matter more than most travelers expect. For trips before May or after October, add thermal base layers, since even well-insulated tents lose heat overnight. For July and August, shift the balance the other way: pack extra sun protection, more lightweight clothing and additional water, because daytime heat near open fields or lakes builds quickly. Before you finalize your bag, double-check what the site actually provides — a quick confirmation with your host means you pack for reality rather than assumptions, and you won’t lug along gear that’s already waiting in your tent.
Final Glamping Trip Packing Recap
Glamping packing trips people up because it sits between two habits: packing like a hotel guest or packing like a tent camper. Do the first and you are dragging three suitcases across a gravel path to your tent. Do the second and you are shivering in canvas with no sleep liner and a dead phone. The sweet spot is one 40-60L duffel for a 2-3 night stay, built around the site’s confirmed amenities list.
From there, the essentials are simple. Layered clothing handles the 10-15°C night drops, backed up by waterproofs and proper footwear. A sleep liner, earplugs, power bank and headlamp cover the comfort gaps hotels handle for you. Get those right and the tent feels like a treat, not a compromise. If this checklist helped, leave a comment or share the article with someone planning their first night under canvas.