Booking a glamping site for the first time should be exciting, but many newcomers discover too late that the photos hid the truth. A canvas tent can look dreamy online yet turn out to have a shared bathroom down a muddy path, no heating on a cold night, or a location that feels more stressful than restful. Comfort, location and value all matter, and they are easy to check before you pay if you know what to look for.
This guide walks you through the whole process step by step. You will learn what different stay types actually include, how to pick a location and season that suits you, which amenities to verify before booking, how to set a realistic budget, how to vet reviews properly, and what to pack so your first glamping trip goes smoothly from check-in to checkout.
What Glamping Actually Includes: Stay Types Explained
Glamping covers a wide range of structures, and they are not equal when it comes to comfort. The main difference between stay types usually comes down to three things: whether you get a real bed, whether the bathroom is private, and whether there is any heating. Understanding these differences before you book is the single best way to avoid disappointment on your first trip, because the word “glamping” can describe anything from a basic canvas tent to something that feels very close to a hotel room.
As a first-timer, it pays to be honest about your comfort level. If you have never slept away from a proper bathroom and a warm room, start with a unit that offers both. You can always go more rustic on your second trip once you know what you can handle, and you will enjoy it far more for knowing that in advance.
- Safari tents: large canvas tents on fixed frames, usually with proper beds and furniture; bathrooms are either shared facilities or a private unit, and heating is often basic or absent. They feel wonderfully close to nature, but on a cold night that canvas is thin.
- Yurts: round, insulated fabric structures with real beds and often a small stove; expect shared or private bathrooms depending on the operator. The round shape and insulation make them cozier than most tents.
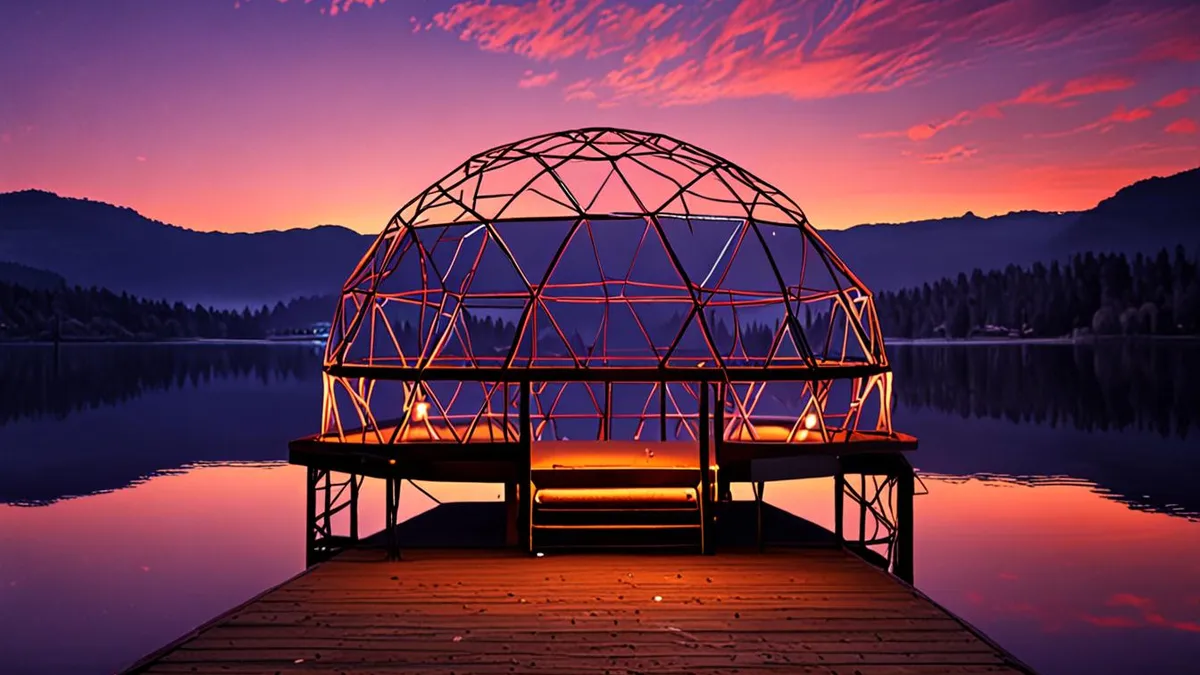
- Geodesic domes: curved, weather-tight domes that typically add heating, an en-suite bathroom and a kitchenette, making them a solid step up in comfort and a popular choice with first-timers.
- Cabins: solid-walled units that usually include heating, en-suite baths and a kitchenette, the closest option to a standard hotel room. If you are nervous about the outdoors, this is the gentlest introduction.
- Treehouses and A-frame cabins: characterful options that suit cooler months well, thanks to solid construction and heating, but they book up fastest, so reserve early if you want one.
Picking the Right Location and Season for Your Glamping Site
For your first glamping trip, keep things close. A site within a 1-2 hours’ drive of home means that if the night turns miserable, the bed is too hard or the weather turns, you can simply pack up and leave without a ruined holiday. Once you know what you enjoy, you can venture further afield.
Timing your trip
Peak season runs roughly May to September in most temperate regions, which means the best weather but also crowds and top prices. If your dates are flexible, shoulder months like April and October can cut rates by 20-30% while giving you quieter grounds and more attention from hosts. The trade-off is cooler evenings, so pack accordingly.
Terrain and weather matter more than you think
Check where the site actually sits before booking. Lakeside and mountain locations cool sharply at night, even in midsummer, so a tent with no heating can feel very different from how it looks in sunny listing photos. Read the site description for elevation and exposure, and check typical night temperatures for the area during your travel dates rather than assuming the daytime forecast tells the whole story.
Amenities Checklist: What to Verify Before You Book
Listings can be vague, so never assume an amenity is included. The three essentials to confirm in writing before you pay are heating or air conditioning, real bedding, and whether the bathroom is en-suite or shared. A unit with a shared bathroom block can be perfectly pleasant, but it changes the experience significantly, and you should know that before booking rather than on arrival. Ask for photos of the actual unit you will sleep in, not just the site’s best-looking model, since larger operators often run several unit types with very different setups.
Equally important is knowing what costs extra. Some sites bundle everything into one price, while others charge separately for things you might expect to be included. Ask the host directly, and check whether the site welcomes children or pets if you are traveling with either, since some grounds have quiet-adult or no-pet policies. It also helps to ask about access: how far you park from your unit, whether paths are lit at night, and whether staff are on-site if something goes wrong. These small details shape how relaxing the stay actually feels.
- Meals: ask if breakfast or dinner is provided on-site, or if the nearest food is a drive away, which matters if you have no kitchenette.
- Fire pits and firewood: confirm whether there is a fire pit at your unit and whether firewood is supplied or sold on-site.
- Showers and Wi-Fi: check if showers are private and hot, and whether Wi-Fi reaches your unit or only the main lodge.
- On-site activities: look for kayaking, guided hikes or similar offerings to fill your days, especially at remote sites where nothing else is nearby.
Setting a Realistic Budget for Your First Glamping Trip
Glamping prices vary widely, and knowing the typical ranges helps you spot a fair deal. Entry-level glamping tents usually run $100-200 per night, while premium domes and safari tents often cost $250-500. That jump usually reflects real differences: better insulation, private bathrooms, kitchenettes and more space to spread out.
Don’t forget the extras
The nightly rate is rarely the whole story. Meals, activity fees and firewood can add $30-80 per day, so ask what is included before you compare prices. Some hosts charge separately for everything from breakfast baskets to canoe rentals, while others bundle it all into one rate.
Timing also matters. Shifting your trip from a peak summer weekend to a shoulder-season date can meaningfully lower the nightly rate for the exact same unit, freeing up budget for a nicer stay. If you want inspiration for longer, more immersive stays, it’s worth reading about estate-level hospitality concepts in Asia, which show how far thoughtful inclusions can go.
Finally, compare what is included rather than the sticker price alone. A $300 all-inclusive dome can easily beat a $180 tent once you add meals, firewood and activities to the bill. Work out the true daily cost for each option and the better value usually becomes obvious.
One last tip: ask the host for a full price breakdown in writing before you pay. Knowing exactly what the rate covers makes it much easier to compare sites fairly and avoid surprise charges at check-out.
How to Vet Reviews and Book Your Glamping Site
Reviews are your best defense against a disappointing first glamping trip, but only if you read them with a plan. A quick glance at the star average tells you very little on its own. A site can look spotless in photos and still have a track record of cold nights, thin walls or vague cancellation rules buried in its review history. Follow a few simple steps before you hand over any money, and you will know exactly what kind of experience you are paying for.
- Filter for volume and recency. Look for sites with at least 20-30 recent reviews averaging 4+ stars. A handful of glowing reviews from three years ago says far less than a steady stream of recent feedback, especially if the site has changed owners, added new units or adjusted how it operates in the meantime.
- Start with the worst reviews. Read the 1- and 2-star reviews first and look for patterns. One complaint about a noisy neighbor is just noise; repeated mentions of cleanliness problems, unresponsive hosts or unexpected extra charges are a genuine warning sign worth taking seriously.
- Balance the bad with the good. After the negatives, scan a few recent positive reviews and note what guests praise most. If several mention comfortable beds, hot showers and quiet surroundings, you can be reasonably confident those basics are reliable.
- Book early for peak dates. Reserve 2-3 months ahead for summer weekends, because the most popular units sell out first. The best-reviewed tent or dome on a site is usually gone long before the rest, so early booking also gives you the widest choice of layouts and views.
- Check the fine print before paying. Confirm the cancellation policy and exact check-in instructions. Some sites send detailed arrival directions in advance, others expect you to call on the day, and refund rules vary a lot between individual hosts and booking platforms.
Taking twenty minutes to vet a site this way dramatically reduces your chances of an unpleasant surprise. It also makes comparing options much faster, since you will quickly learn which complaints matter to you and which ones you can ignore. Once you have a well-reviewed host with clear policies and recent, consistent feedback, you can book with confidence and start looking forward to the trip itself.
Packing and Preparing for a Comfortable First Stay
Even the most luxurious tent is still a tent, and temperatures drop noticeably once the sun goes down. Packing with that reality in mind is the difference between a cozy night and a miserable one. A little preparation also saves you from awkward mid-trip shopping runs to the nearest town.
Start by messaging your host before you pack. Ask exactly what is provided, from towels and bedding to cookware and coffee supplies. Many glamping sites stock the essentials, and arriving with duplicates only wastes car space. Hosts can also tell you about the terrain, so you know whether you’ll be walking ten meters from the parking area or a few hundred meters down a gravel path.
Beyond clothing, a few small items earn their place every time:
- A torch or headlamp with fresh batteries, since paths between units are rarely lit and your phone’s flashlight drains the battery fast.
- A power bank, because outlets in tents and domes are limited and charging spots may be shared.
- Slip-on shoes for quick trips to the bathroom block or fire pit, where lacing up boots at midnight gets old fast.
Finally, plan to arrive before dark. Finding your unit, learning the layout and locating the bathrooms is far easier in daylight, and you’ll settle in relaxed instead of fumbling with a map by headlights.
Your First Glamping Trip, Sorted
Your first glamping trip doesn’t have to be a gamble. The sites that disappoint usually fail on the same three things: comfort, location or value, and all three can be checked before you pay a deposit. Start by choosing a stay type and a location within 1-2 hours of home that matches your comfort needs, whether that means heating, a private bathroom or a real bed under canvas.
From there, verify the amenities that matter to you, set a realistic nightly budget of $100-500 and vet reviews before booking anything. If summer weekends are your goal, lock in your dates as early as possible, since the most sought-after units go first. Pack layers no matter how luxurious the tent looks, then relax. Do that, and your first night under canvas should feel like a treat rather than a test. If this guide helped you plan, leave a comment or share it with a friend who’s glamping-curious.